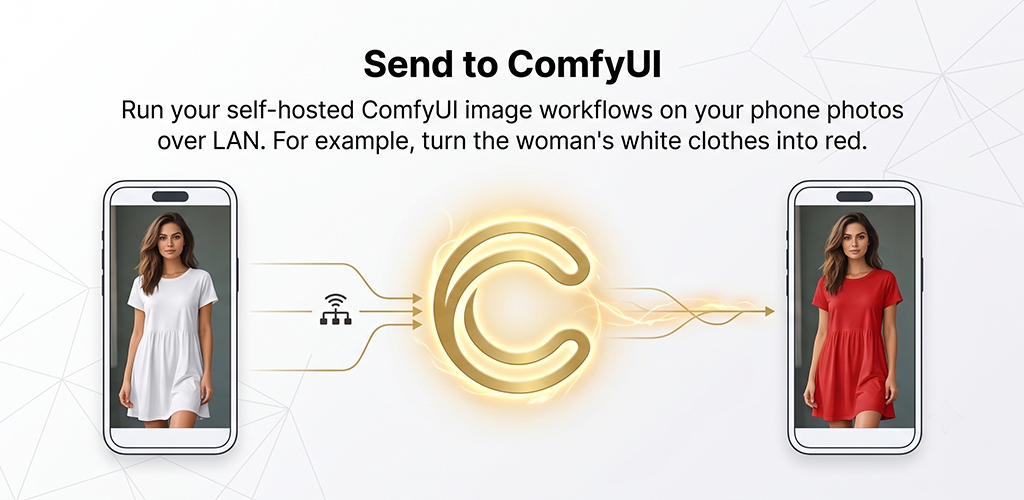
1 · Pick photos
Select one or many images from your phone's gallery.
2 · Send to ComfyUI
Your server runs the saved workflow over the LAN, one image at a time.
3 · Save results
Results download to Pictures/ComfyUI and the in-app Gallery.
The app ships no AI models — it uses whatever workflow and models are already installed on your own ComfyUI server. You control the workflow, the model, and your data.
Prepare the ComfyUI server
The app talks to ComfyUI's HTTP API, so ComfyUI must accept cross-origin requests and listen on your LAN — not just localhost. Every command below is also shown, with a copy button, inside the app's Setup Guide.
1.1Import the example workflow
The app runs a saved workflow — it doesn't build one for you. Below is the example it expects: a FLUX.2 Klein 9B KV reference-conditioning graph that edits the picked photo from the text in the CLIP Text Encode node (e.g. "Change the color of clothes to red").
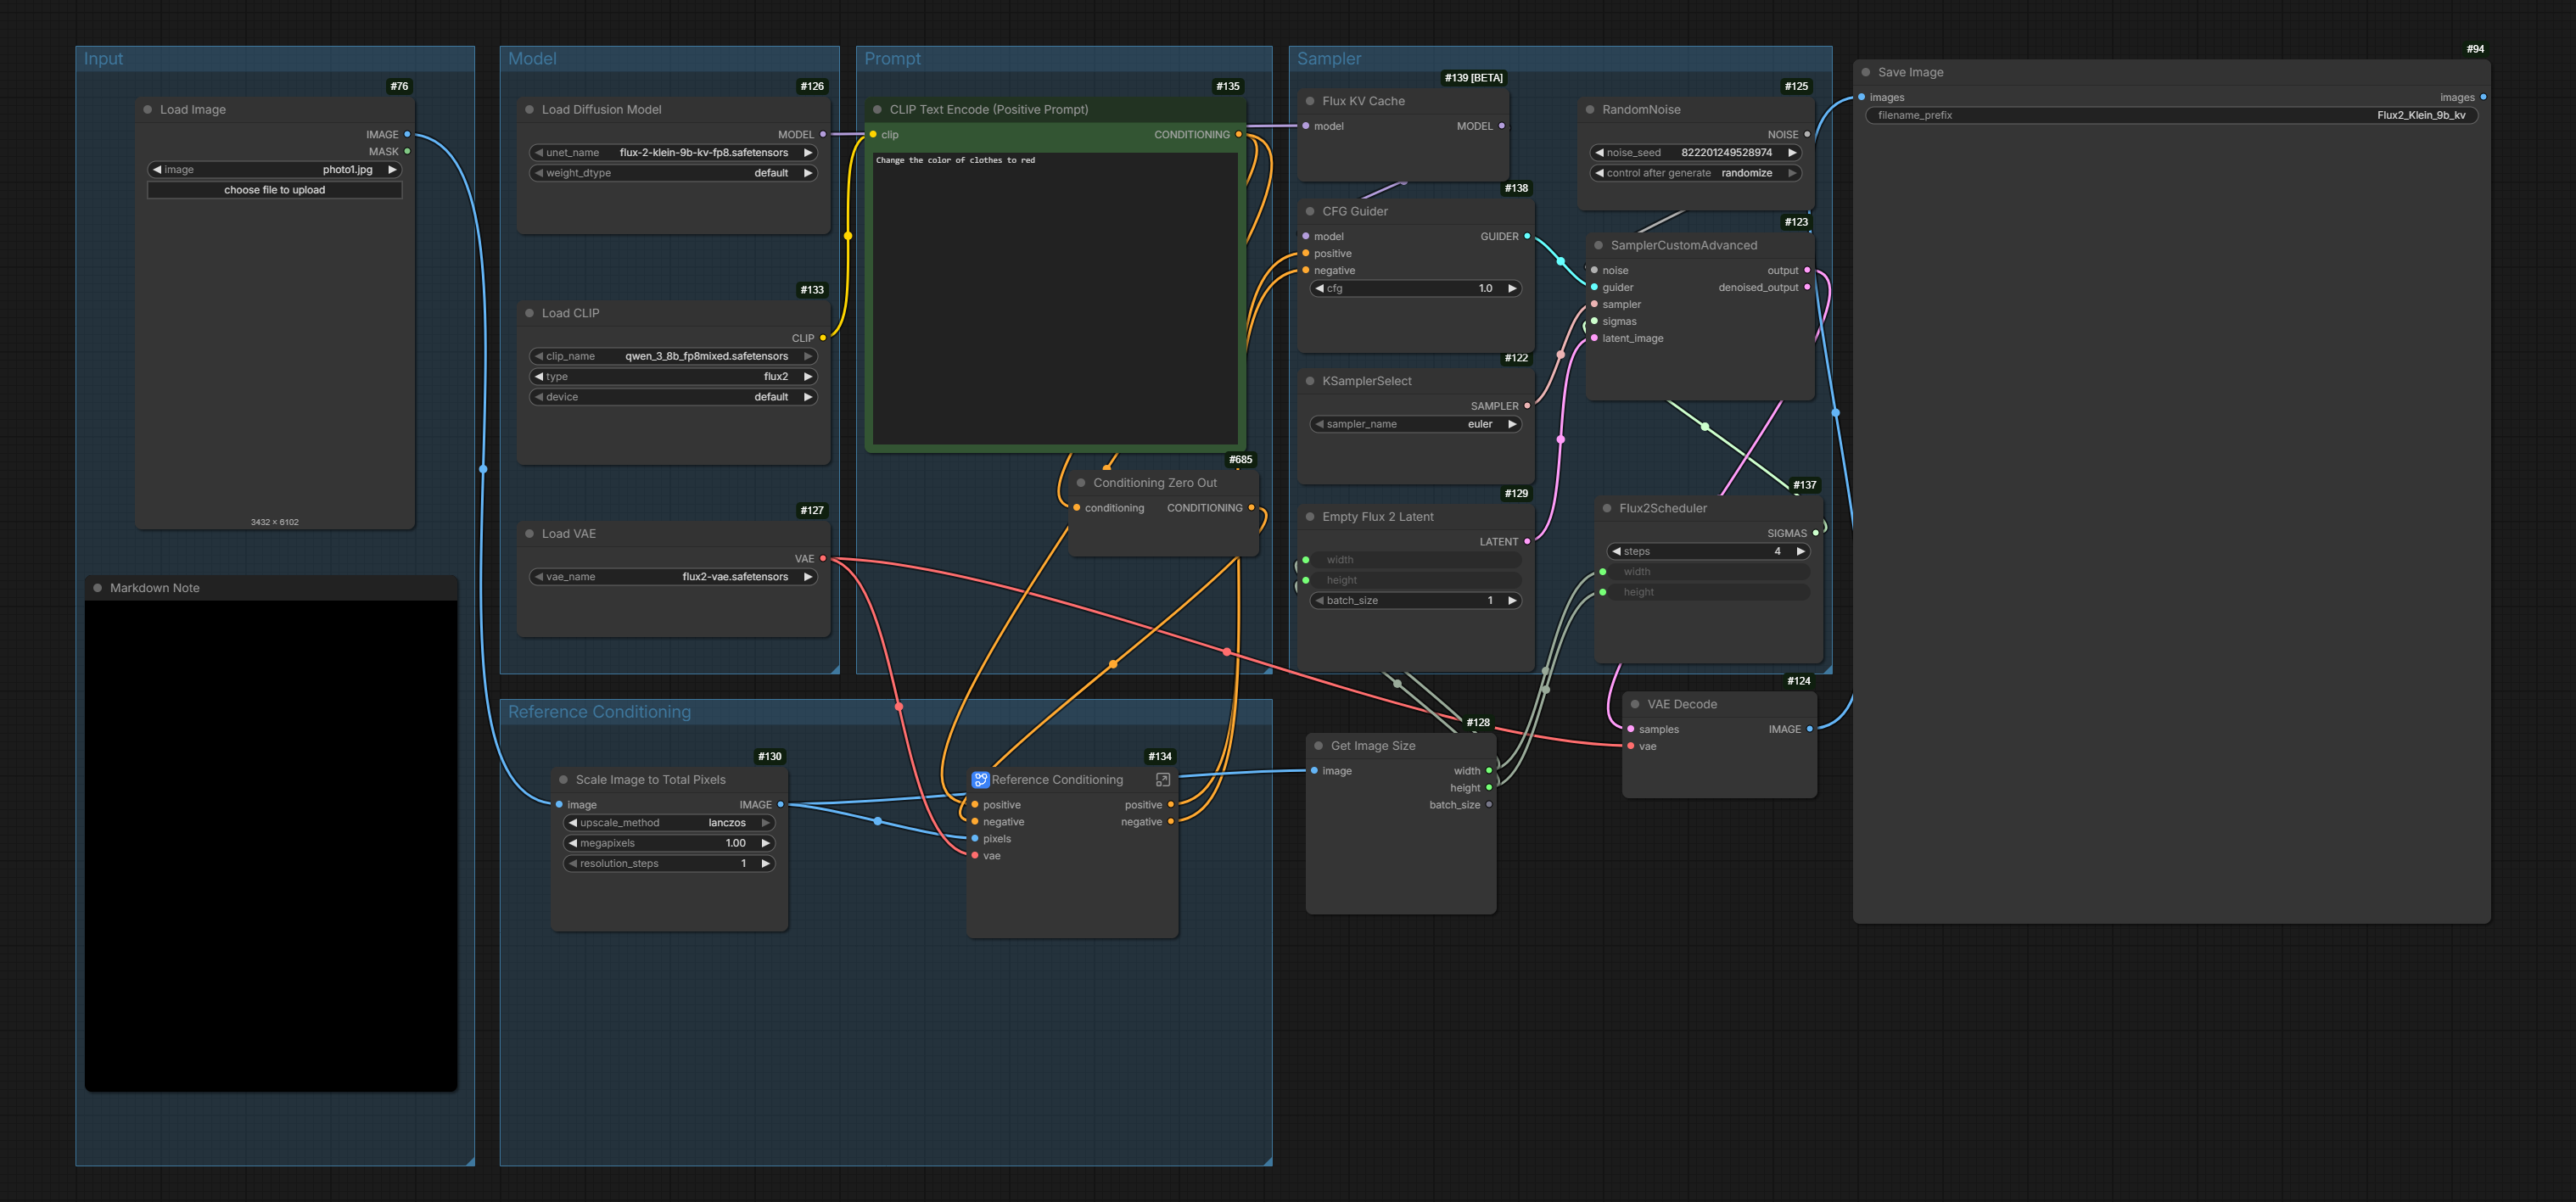
Load it into ComfyUI and save it:
- Drag-and-drop the image onto the ComfyUI canvas (or Workflow → Open). The full node graph is embedded in the PNG, so ComfyUI rebuilds the whole workflow.
- Save the workflow (Workflow → Save) as
image_flux2_klein_9b_kv_image_edit.json— the app's default workflow name, so it appears in the Workflow dropdown after you Connect. - The image input is node
#76(Load Image) and the output is node#94(Save Image →images) — the app's default Input/Output ports, so no extra configuration is needed.
The models referenced (flux-2-klein-9b-kv, qwen_3_8b CLIP, flux2-vae) must already be installed in your ComfyUI. Edit the prompt text to change what the edit does.
1.2Start ComfyUI for LAN access
python main.py --enable-cors-header --listen --port 8189--port can be any free port; whatever you choose here is what you enter in the app.
1.3WSL on Windows: enable mirrored networking
If ComfyUI runs inside WSL, add this to C:\Users\YourName\.wslconfig:
[wsl2]
networkingMode=mirrored
Then run wsl --shutdown and restart ComfyUI.
1.4Find the host computer's LAN IP
Run the command for the OS hosting ComfyUI and use the IPv4 address of the active Wi-Fi/Ethernet adapter.
| OS | Command |
|---|---|
| Windows | ipconfig |
| Linux | hostname -I · ip -4 addr |
| macOS | ipconfig getifaddr en0 (or en1) |
Using an emulator on the same machine? Use 127.0.0.1, or 10.0.2.2 from the Android emulator.
1.5Allow the port through the firewall
Windows
netsh advfirewall firewall add rule name="ComfyUI 8189" dir=in action=allow protocol=TCP localport=8189Linux (UFW)
sudo ufw allow 8189/tcpLinux (firewalld)
sudo firewall-cmd --add-port=8189/tcp --permanent
sudo firewall-cmd --reload
macOS — the firewall is app-based; allow the Python/Terminal app that starts ComfyUI.
Configure the app
Open the Editor tab and tap Configuration (the dialog also opens automatically on first launch).
- ComfyUI host IP and Port — enter your PC's LAN IP (step 1.4) and the
--portfrom step 1.2. Tapping a field clears it for quick entry. - Connect & load workflows — the app fetches the workflow list from the server; a status line shows how many were found, or the connection error.
- Workflow — pick your image-editing workflow from the dropdown.
- Input / Output port — pick the workflow's image input node (a
LoadImage-style node) and its image output node. Selecting a workflow auto-fills sensible defaults. - Save.
The chosen workflow must contain an uploadable image input (a widget named image/upload) and at least one IMAGE output — exactly the ports offered in the dropdowns.
Process photos
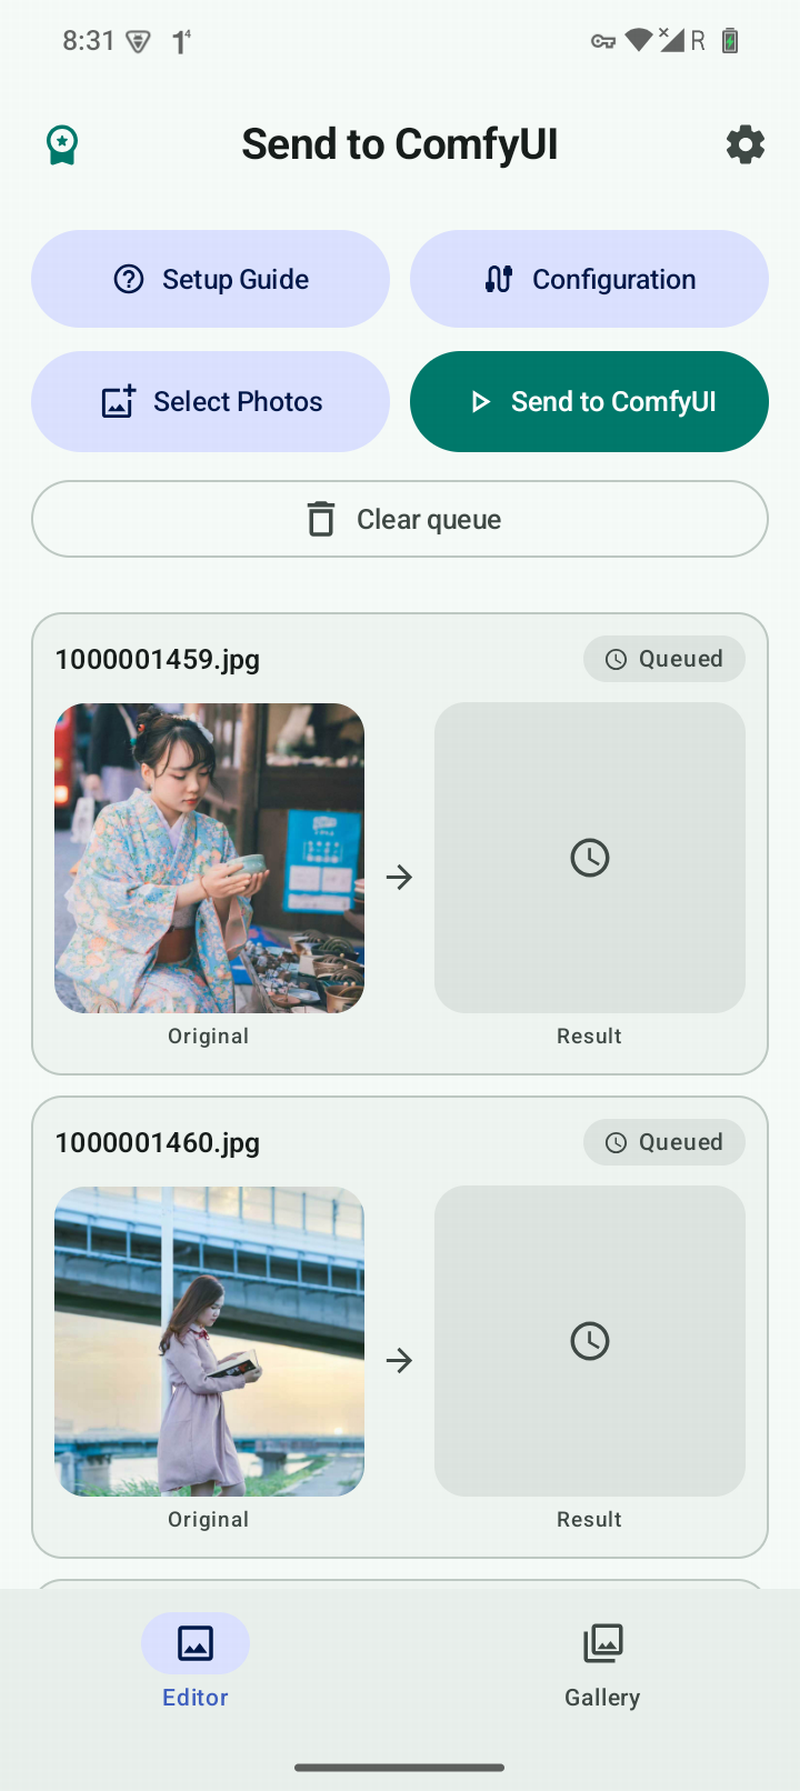
- In the Editor, tap Select Photos and choose one or more images.
- Tap Send to ComfyUI. Photos process one at a time with a
Processing X / Yprogress bar. Each cycle: upload → queue → poll (up to 15 min) → download → save toPictures/ComfyUI. - Each job card shows the original on the left and the ComfyUI result on the right, plus its status (Queued / Uploading / Editing / Saved / Failed). Failed jobs have a Retry button.
- Open the Gallery tab to review results; tap any image for full-screen.
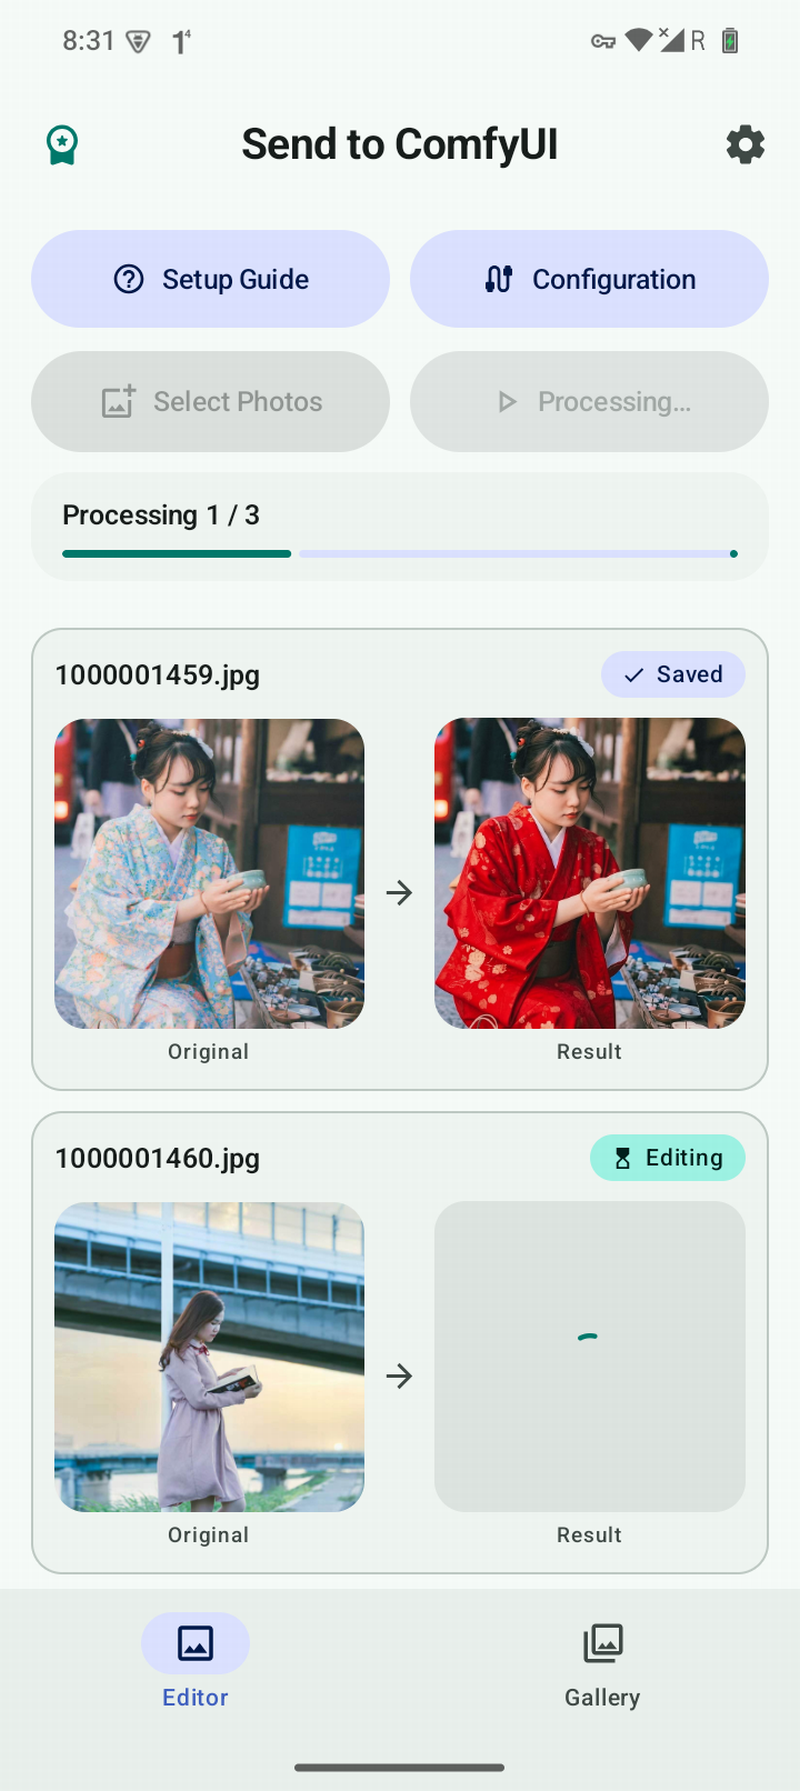
Jobs live in memory only — if the app process is killed the job list and Gallery view clear, but images already saved to Pictures/ComfyUI stay on disk.
Settings
| Theme | System · Light · Dark |
| Language | System · English · 简体中文 · 繁體中文 |
| Remove ads | A monthly subscription or one-time lifetime purchase removes the banner and interstitial ads. Restore purchases from the upgrade sheet. |
Troubleshooting
| Symptom | Likely cause / fix |
|---|---|
| "Cannot connect to ComfyUI" | Wrong IP/port; ComfyUI not started with --listen; firewall blocking the port; phone not on the same LAN. |
| Workflow dropdown empty | Connected, but no .json workflows under workflows/, or you haven't tapped Connect & load yet. |
| Input port dropdown empty | The workflow has no uploadable image input (image/upload widget). Pick a workflow that loads an image. |
| Job fails immediately | The workflow errored on the server — the ComfyUI message shows on the job card. Confirm it runs in the ComfyUI web UI first. |
| Result never arrives | Long-running workflow — the app polls up to 15 minutes before timing out. |